VisiData
About VisiData
It is a powerful terminal-based data visualization and manipulation tool. It’s spreadsheet like interface for command line allows you to quickly explore, filter and analyze large data files.
It supports many open file formats including CSV, JSON,Excel, SQL databases etc.
Other notable features are -
- Ability to sort, filter and manipulate columns and rows.
- Create quick statistical summaries.
- Generate frequency tables and pivot tables.
- Plot simple graphs in terminals.
Installation
Using pip
pip install visidata
Using MacOS
brew install saulpw/vd/visidata
Using Conda
conda install --channel conda-forge visidata
For upgrading to latest release
pip install --upgrade visidata
Workings
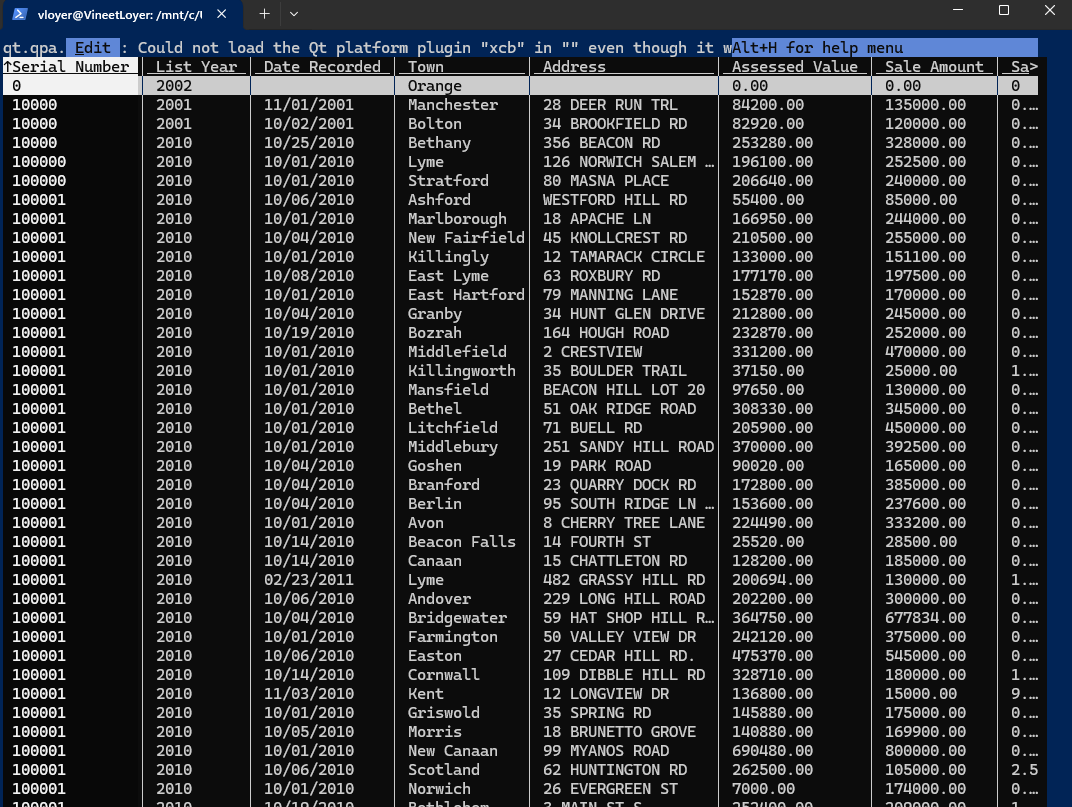
after installation, select a dataset you want to operate on, for example I have used Real Estate Sales dataset from Data.gov.
Now move to the specific directory in terminal and execute below command
vd Real_Estate_Sales.csv
or if vd is not recognized by the terminal then try:
visidata Real_Estate_Sales.csv
Searching in VisiData
- Forward Search : Use
/to search forward in the data. Navigate to the desired column using arrow keys orh/j/k/l. - Regular Expression Search : Search with a regular expression by using
/^{string}. This allows for more advanced matching patterns.
Row Selection Shortcuts
s: Selects a row.u: Unselects a row.gs: Selects all rows.gu: Unselects all rows.
Selection by Search Term
VisiData lets you quickly select rows based on specific values in a column.
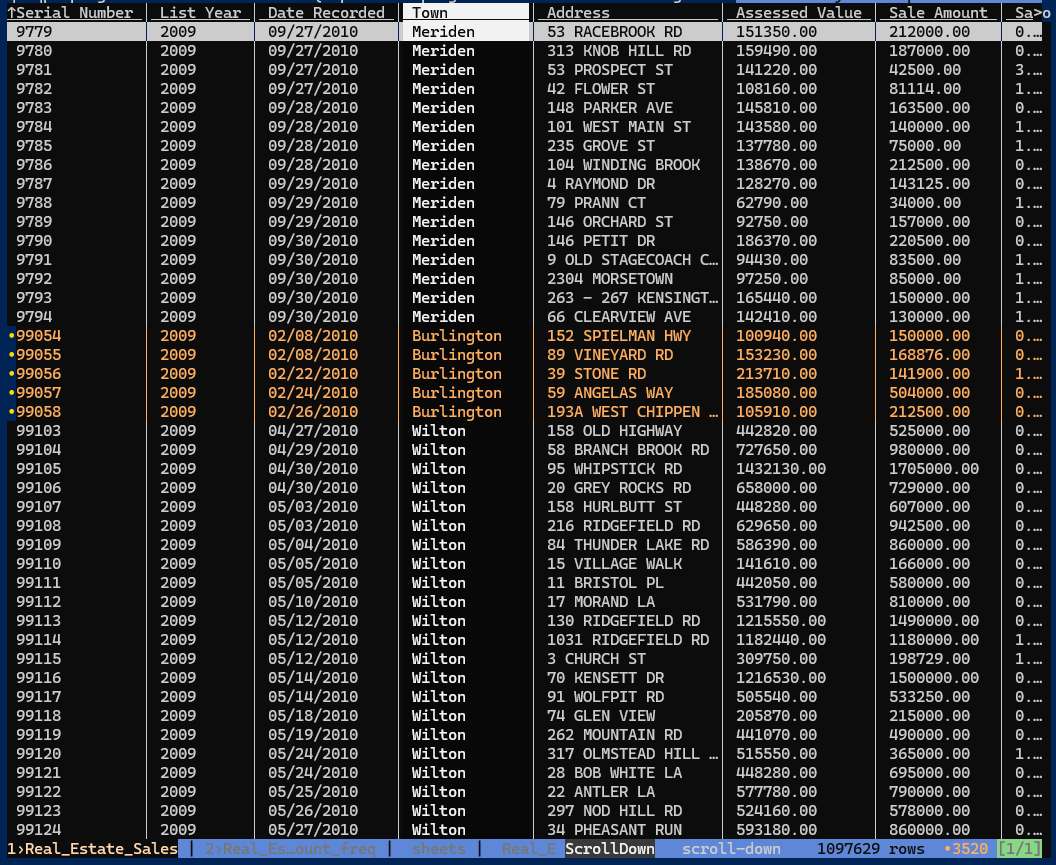
- Select Rows by Column Value :
- Navigate to the desired column (e.g., Town ) and press
|(pipe key). - Enter the value you want to match (e.g.,
Burlington). - All rows matching that value will be selected.
- Unselect Rows by Search Term :
- Start with
\(backslash key) in the search prompt. - Enter the term to unselect matching rows.
- Match Across All Columns :
- To select rows matching a value in any column , use
g|and enter the value. - To unselect rows matching a value in any column , use
g\.
Selection by matching current value
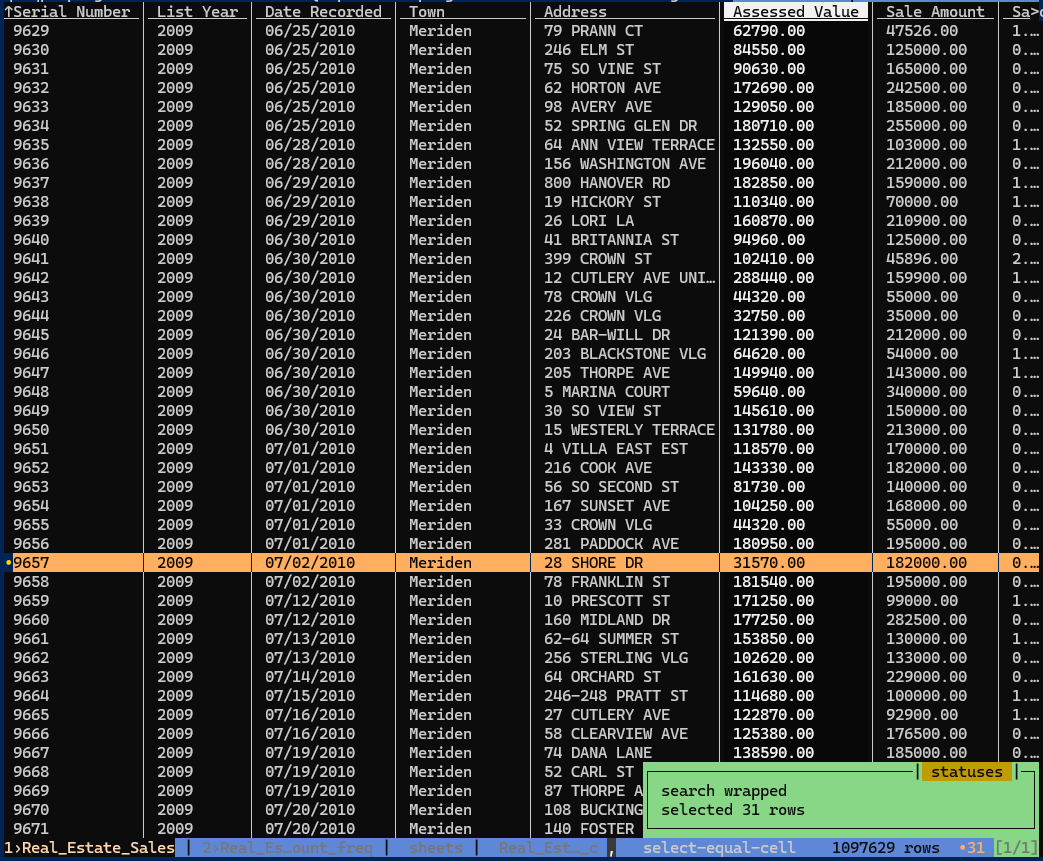
One of the most powerful selection features in VisiData is matching rows based on the value of the current cell.
- Navigate to a cell in the desired column and press
,(comma key). - This will select all rows that match the value in the current cell.
Example :
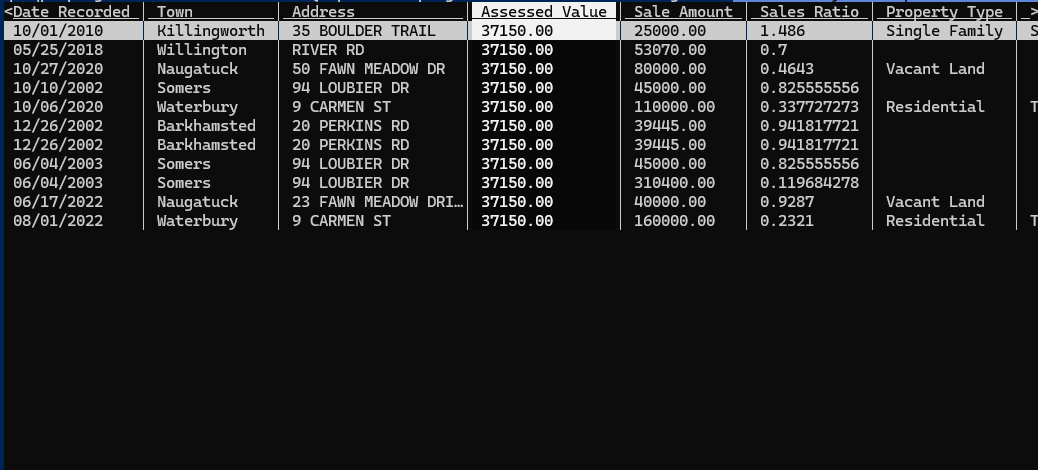
If you’re in the Assessed Value column on a row with the value 31570, pressing , will select all rows with an assessed value of 31570.
Filtering Multiple Columns
- You can repeat the selection process in multiple columns to refine your filter.
- Navigate to each column, search for the value you’re interested in, and apply selection shortcuts.
Creating a New Sheet
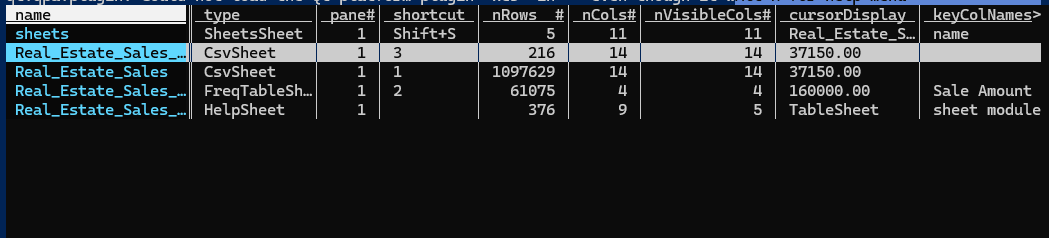
- To open the selected items in a new sheet , press
"(double-quote key). - Use
Shift + Sto view all available sheets.
Shift+S to see all sheets
Select by pressing Enter
Switching Between Sheets
- Use the shortcut numbers in the “Sheets” tab to jump between sheets:
- Press
Alt + N(whereNis the shortcut number).
- Press
- To toggle between your current sheet and the previous one, press
Control + ^.
Saving Filtered Data
Once you’ve filtered or created a new sheet, saving it as a CSV is straightforward:
- Press
Control + S. - Enter a name for the sheet. Ensure the name ends with
.csv(e.g.,Real_estate_31570.csv). - Press
Enter, and your filtered data will be saved in CSV format.
References
https://www.visidata.org/docs/